
Ordering embroidered shirts comes down to five decisions: which shirt, what sizes, which logo file, where the logo goes, and approving your artwork before anything is stitched. Get those right and the order runs smoothly. This guide walks through each step the way we handle it at Distinctive Image.
1. Pick a shirt that suits the work
Think about the job before the look. Someone on a roof in January needs something different from someone behind a reception desk.
- Trades and outdoor crews: cotton drill or twill work shirts, often long sleeve for sun protection. Lightweight vented shirts suit very hot conditions (see our guide to summer work shirts).
- Office, retail and hospitality: polos or business shirts, with a small chest logo.
- Mixed teams: pick one style in men's and women's cuts rather than forcing everyone into a unisex fit.
If you're nearby, come in and try the samples. We keep two levels of workwear and samples in store, and you don't need an appointment.
2. Sort out sizes before you order
Wrong sizes are the most avoidable reason for a reorder. A few habits help:
- Ask each person to try on a sample, or check the brand's size chart against a shirt they already own.
- Women's cuts are shaped differently, so don't assume a women's size matches a men's size.
- Collect sizes in a single list with names. It makes reordering for new starters easy later.
3. Send us your logo
The best file is a vector: EPS or AI. We can also work from PDF, PSD, PNG, JPEG or BMP files, as long as they're high resolution (at least 300 dpi). If all you need is text, such as a business name and phone number, just tell us the wording and our design team will set it out.
Can't find a good file? That's common. Email what you have and we'll suggest the best way forward.
4. We digitise your logo
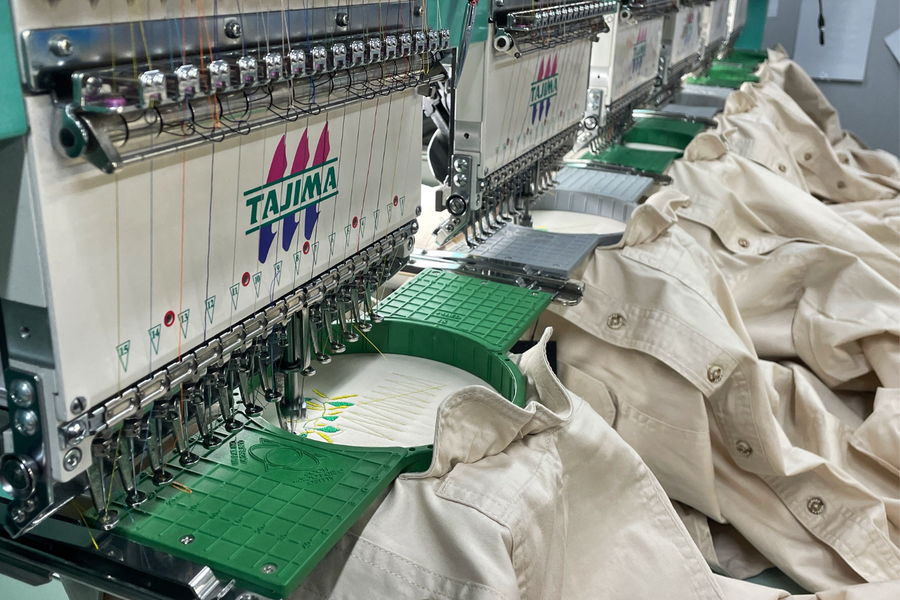
Embroidery machines don't read image files. They read stitch files. Digitising is the skilled step where your logo is converted into stitches: where each colour starts, which direction the thread runs, and how dense it should be. It's why a logo can look perfect on screen and still need small adjustments to stitch well. Very fine lines and tiny lettering are the usual suspects.
Once your logo is digitised we keep it on file, so a repeat order doesn't start from scratch.
5. Check and approve your artwork
Before anything is stitched, we confirm your artwork with you. Depending on the job, that might be a digital mock-up showing your logo's size, colours and position on the garment, or a photo of an actual test stitch-out. Either way, nothing goes into production until you're happy with it. Check the spelling, the colours and the size, and make sure the logo looks right where it sits.
If you'd like to see and handle a physical sample before the full run, ask us when you order. It's worth it for a detailed logo, an unusual thread colour or a large order. We'll tell you what's involved before we go ahead.
6. Choose the position
Left chest is the standard and suits almost every shirt. Other common choices are the right chest (often a second logo or a name), the sleeve, or the back yoke. Each extra position is a separate piece of decoration, so keep it to what you really need.
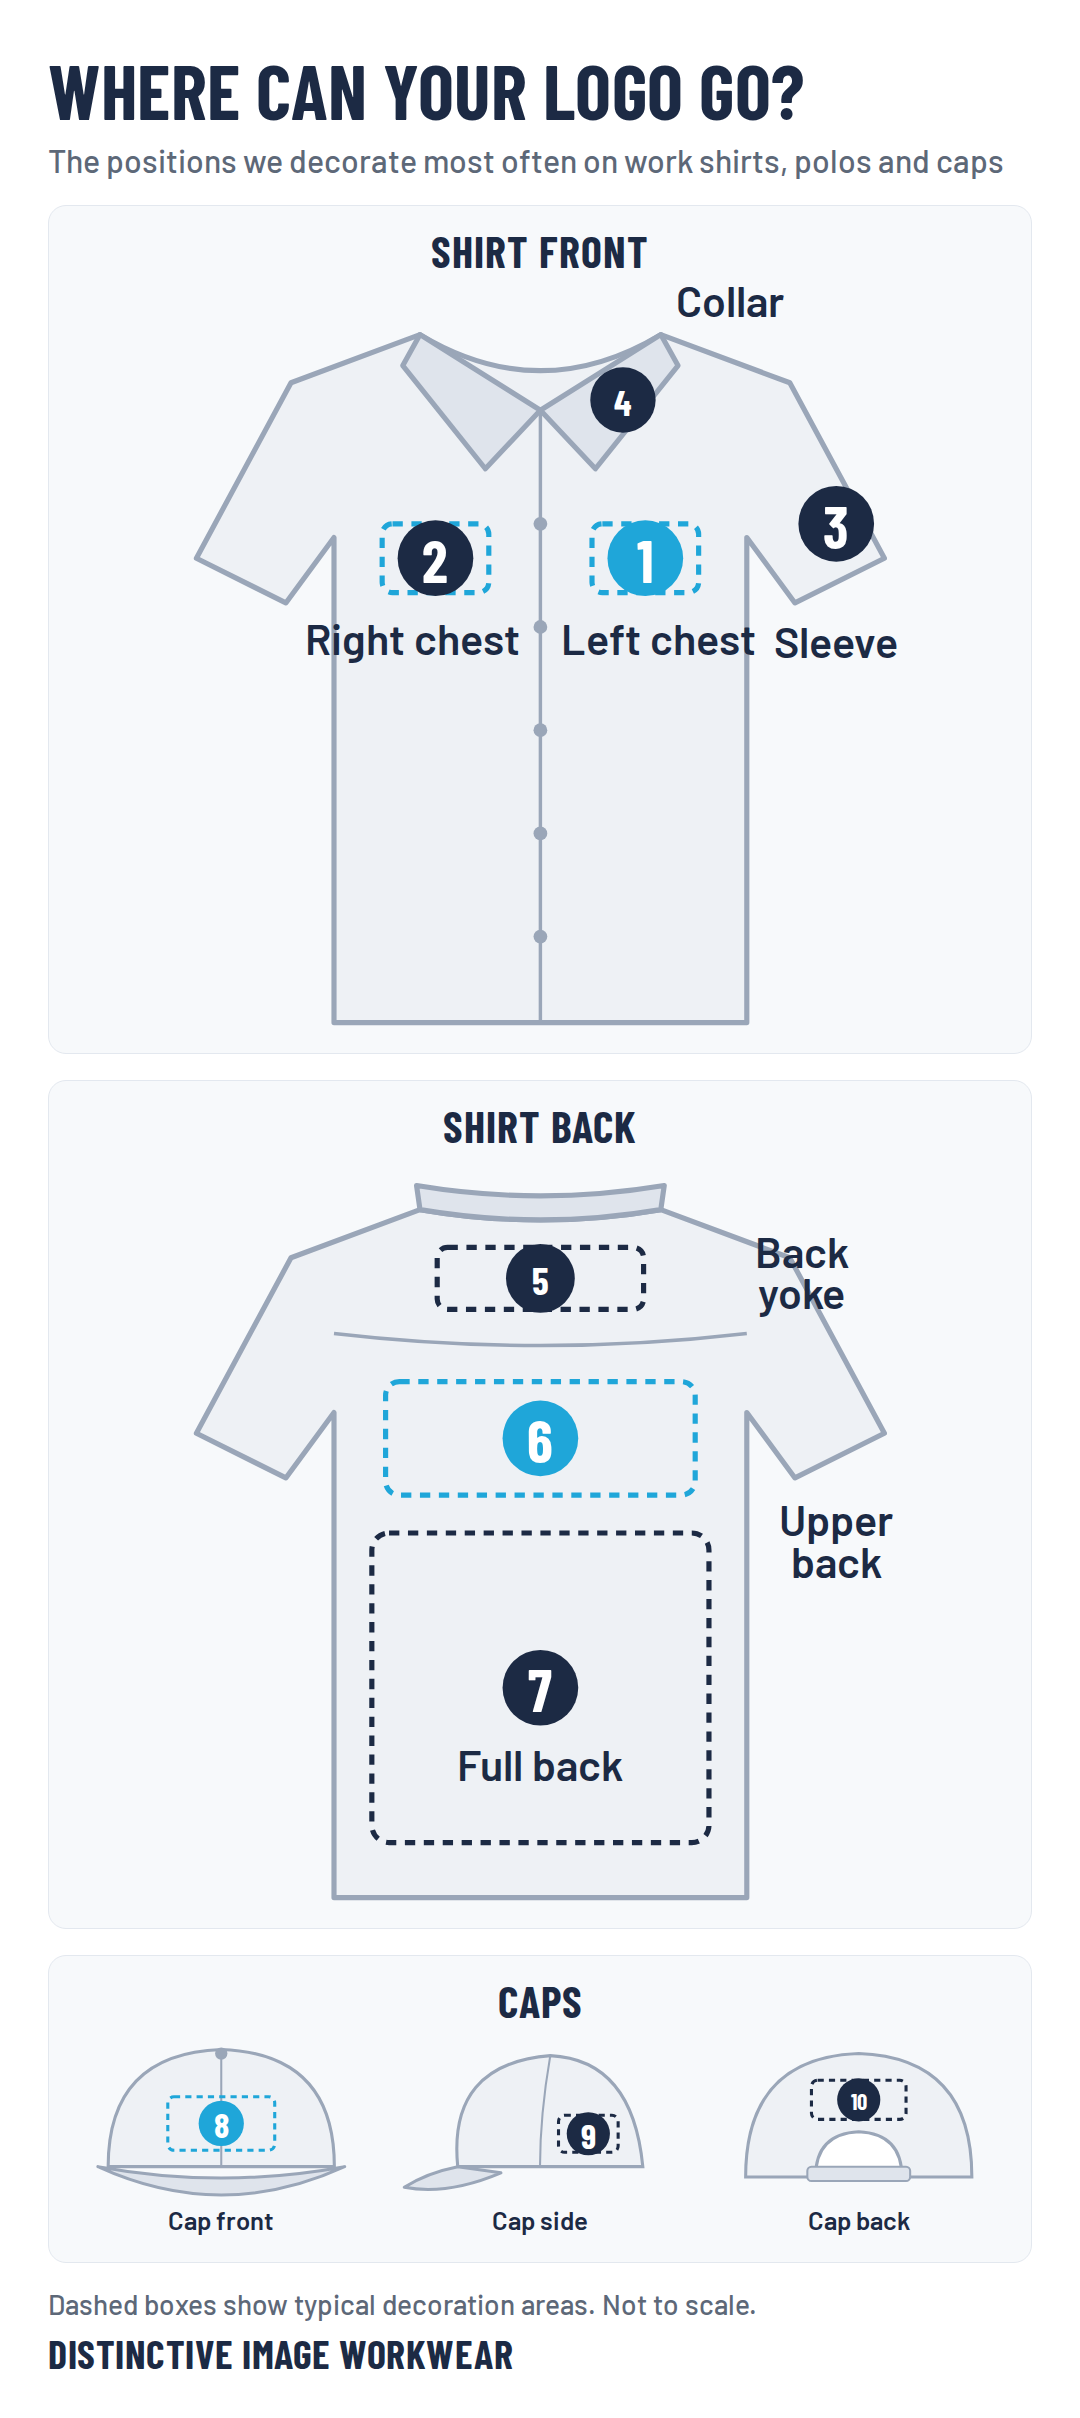
- Left chest: your main logo, and the standard spot on almost every work shirt and polo. Embroidery or print.
- Right chest: a second logo, a staff name or a qualification. Embroidery or print.
- Sleeve: a small logo, flag, website or sponsor. Embroidery or print.
- Collar: small, subtle text or an icon. Embroidery.
- Back yoke: your business name or website just below the collar. Embroidery or print.
- Upper back: business name and phone number, readable from a distance. Usually print; smaller designs can be embroidered.
- Full back: large artwork for maximum visibility on site. Print (DTF or screen printing).
- Cap front: your main logo. Embroidery.
- Cap side: a small secondary logo or text. Embroidery.
- Cap back: a website, slogan or small logo above the strap. Embroidery.
7. Production and delivery
We embroider in-house at our Windsor workshop, so quality and scheduling stay in our hands. Timing depends on whether your shirts are in stock with the supplier, the size of the order and how quickly the artwork is approved. If you're working to a date, such as a new site start or an event, tell us when you enquire and we'll confirm what's realistic before you commit. We deliver Australia-wide.
Does quantity matter?
It does, mostly for value. Turning a new logo into a stitch file is done once, however many shirts it goes on, so a larger order spreads that work across more garments. Tell us how many people you're outfitting, including likely new starters over the next few months. We'll help you decide whether to order everything now or keep the logo on file and top up later.
What affects the price of embroidery?
We quote each order on its own merits. The main factors are the size and stitch count of your logo, how many positions you want, how many garments are in the order, the garments themselves, and whether your logo is new or already on file with us. Send us your logo and garment list and we'll give you a clear quote.
Making reorders easy
Keep your size list, note the exact shirt style and colour codes, and tell us your logo is already on file. For larger organisations with staff across several sites, a custom ordering portal lets your people order pre-approved uniforms themselves.
Ready to start?
Tell us about your team and send your logo. We'll come back with garment suggestions, a quote and next steps. Not sure whether embroidery is the right method? Read Embroidery or printing? How to choose first.